How to Organize Your Raw Footage: A Simple System Your Video Editor Will Love You For
You just finished a fantastic batch filming day. You feel accomplished, you have a ton of great content ready to go, and your desktop is now a beautiful mosaic of files named "MOV_1234.mp4," "IMG_5678.mov," and "Final_Take_V2.mp4."
Now what?
That crucial next step—the way you organize and deliver your raw footage—can be the difference between a smooth, fast, and creative post-production process and a chaotic, delay-filled nightmare. Let's get you organized. Your future self (and your editor) will thank you.
A Clean Workspace is a Fast Workspace
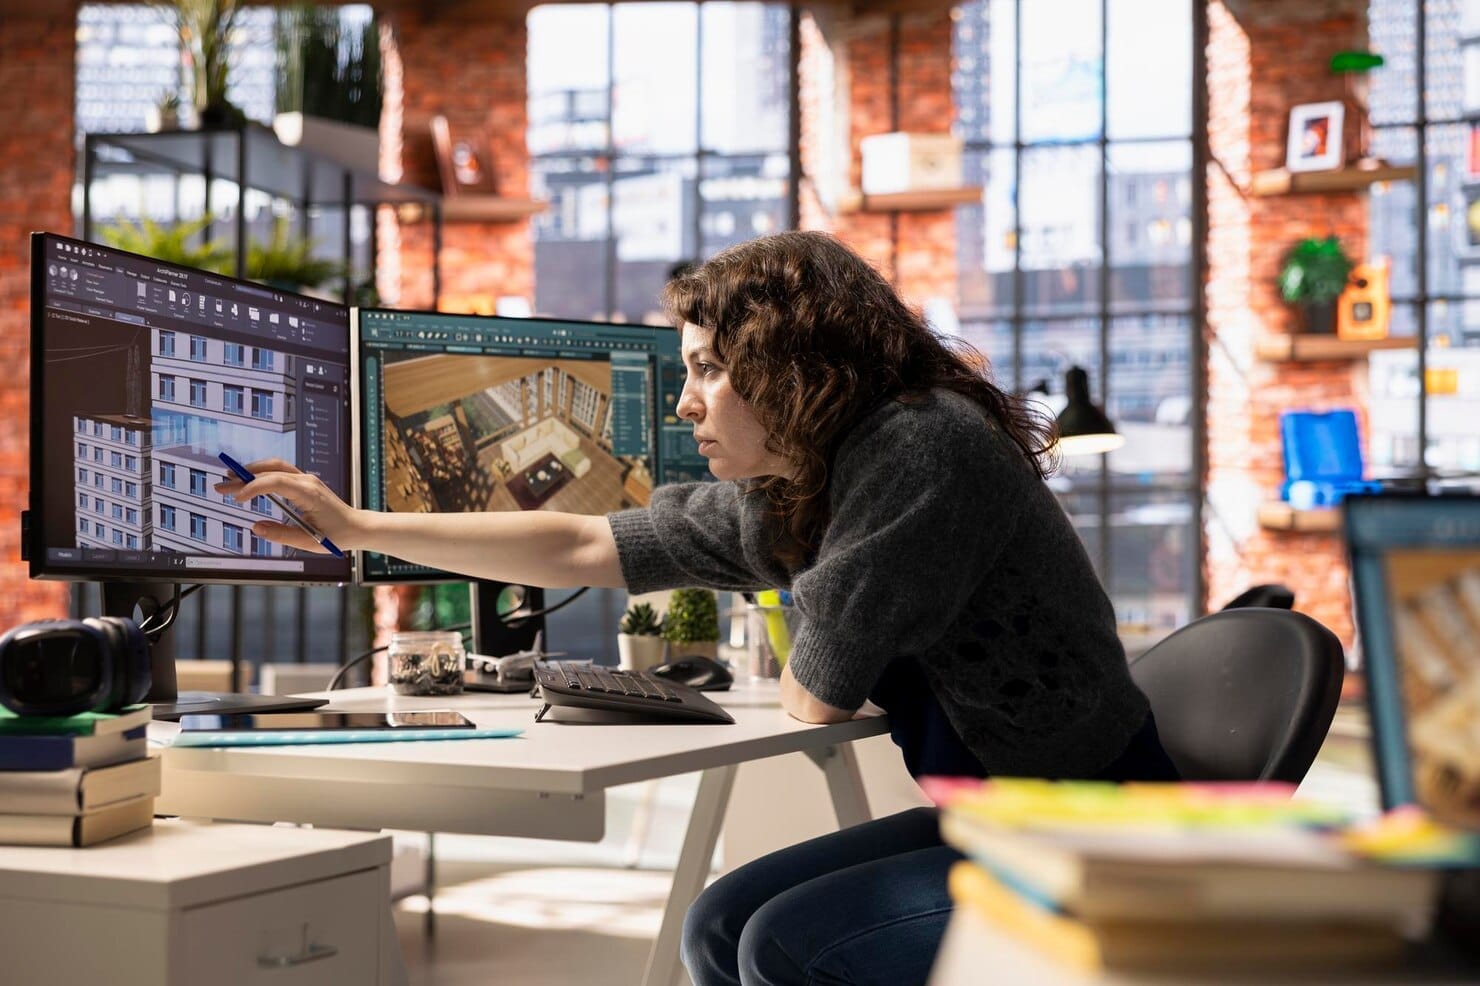
Think about it this way: you wouldn't hire a master carpenter and then hand them a giant, unsorted pile of screws, nails, and wood scraps. They'd have to spend the first few hours of their paid time just sorting and organizing before they could even start building. The same is true for video editing. A clean digital workspace is just as important as a clean physical one.
When you send an editor a jumbled mess of unlabeled files, the first hour of their time is spent on detective work—watching every clip to figure out what's what, renaming files, and trying to piece the puzzle together. But when you provide a simple, organized folder system, you streamline the entire process, which ultimately saves you time and money. This is a key part of an effective workflow for video editing.
The "One Month, One Folder" System
Over the years, I've developed an incredibly simple system for my clients, and it's virtually foolproof. You don't need fancy software, just a basic understanding of how to create folders in Google Drive or Dropbox.
Here’s the entire system:
Step 1: Create ONE Main Folder
This folder should be titled with the month and year of the content.
Example: October 2025 Content
Step 2: Create ONE Subfolder for Each Video
Inside your main monthly folder, create a separate subfolder for each individual video topic you filmed. Name it something clear and simple.
Example: Video 1 - 3 Marketing Mistakes
Example: Video 2 - Client Testimonial
Example: Video 3 - My Story
Step 3: Put All Related Files Inside
Drag all the files for a specific video into its designated folder. This includes your main camera footage (your A-roll), any extra footage or screen recordings (your B-roll), and any separate audio files.
That's it. You're done. Your folder structure should look like this:
October 2025 Content
Video 1 - 3 Marketing Mistakes
main_camera.mp4
voice_memo_audio.m4a
Video 2 - Client Testimonial
take_1.mp4
take_2.mp4
This simple habit is one of the most important parts of an efficient content creation workflow.

Why This Makes a Huge Difference
When I open a client's shared drive and see this beautiful, organized system, I know I can get straight to the creative work. I'm not wasting time on administrative chaos; I'm immediately diving into your footage and thinking about the story, the pacing, and the graphics.
This isn't just about making my life easier. It signals a level of professionalism and mutual respect that sets our partnership up for success from day one. It shows that you value your own time and the collaborative process. I've found that clients who master this simple habit are the ones who get the most out of our work together. For more deeper outsourcing insights, this kind of process-oriented thinking is key. It's just as important as filling out a quick guide to a creative brief.
Set Your Partnership Up for Success
Your job is to be the brilliant expert on camera. My job is to make you look and sound amazing in post-production. This simple organizational system is the handshake between those two roles. It's the clean handoff that ensures a smooth, fast, and enjoyable collaboration for both of us.
Want a creative partnership that feels seamless and organized from the very start? Let's build a workflow that makes it easy for you to film and for me to edit, so we can focus on what really matters: creating incredible content.